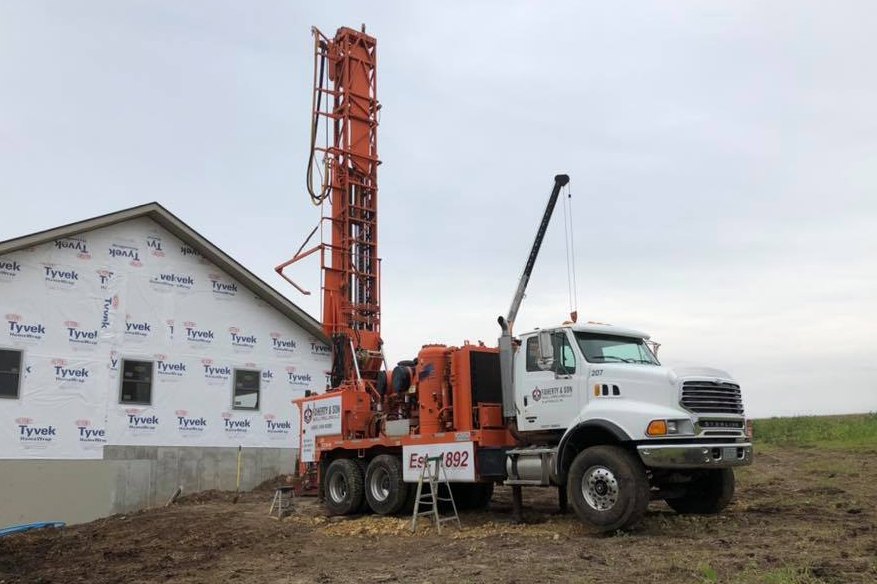
We start drilling your well with an 11” diameter tri-cone bit (rotary) a couple of feet into the bedrock and then install the temporary 10 3/4 “ O.D. steel casing. This casing is used to keep the top of the drillhole open for drilling and grouting (cementing). We then use a 10” diameter hammer and bit to drill the upper enlarged drillhole to the casing setting depth. This hammer is connected to an 8 5/8” diameter x 15 ft. stabilizer that gives us the ability to drill a very straight well. Then we install the 6” diameter permanent steel casing. This casing has a 6” casing drive shoe at the bottom to withstand the force necessary to seal off the upper enlarged drillhole.
The lower drillhole is drilled with a 6” diameter hammer and bit to the depth necessary to obtain the required quality and quantity of clear clean water. The last step in completing your well is to grout (cement) the casing in place. This is done with a cement grouting pump and a Tremie line (3/4” – 1” pipe) which is pushed to the bottom of the casing and then pulled up as the annular space is filled with neat cement grout which seals off all surface and aquifer water above the bottom of the casing.
